DIY worm farm creation offers a sustainable way to manage organic waste and enrich your garden soil. This guide explores the benefits and provides step-by-step instructions for setting up your own worm farm at home. Join us in discovering the art of vermicomposting for a greener, more eco-friendly lifestyle.
Objective: #
Students will learn about the importance of worms in composting and the natural life cycle. They will follow step-by-step instructions to create their own DIY worm farm, gaining hands-on experience in gardening and environmental science.
Materials Needed: #
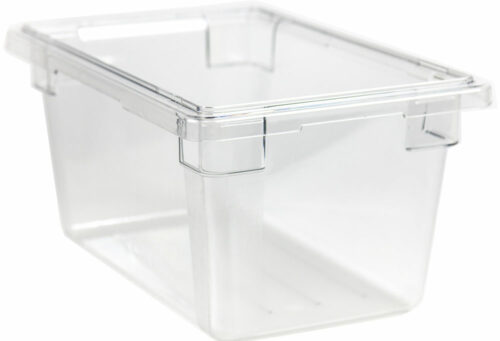
- Clear plastic container with lid (e.g., plastic storage bin)
- Drill or hammer and nails
- Newspaper or cardboard
- Soil
- Sand
- Kitchen scraps (fruit and vegetable peelings)
- Worms (red worms or compost worms)
- Hand-illustrated instructions for making a DIY worm farm (provided)

Duration: 1-2 class periods, depending on the complexity of the DIY worm farm design and the age of the students.
Procedure:
1. Introduction (10 minutes):
- Begin by discussing the importance of worms in composting and the natural life cycle.
- Explain the purpose of a worm farm and how it helps in waste disposal and soil enrichment.
- Introduce the DIY worm farm project and its learning objectives.
2. Preparing the Container (15 minutes):
- Provide each student or group of students with a clear plastic container.
- Follow the step-by-step instructions to prepare the container, including drilling or poking holes in the lid and sides for ventilation.
3. Layering the Worm Farm (20 minutes):
- Instruct students to layer the bottom of the container with moistened newspaper or cardboard to provide bedding for the worms.
- Add a layer of soil followed by a layer of sand to create a suitable habitat for the worms.
- Guide students in adding kitchen scraps as food for the worms, emphasizing the importance of balance and avoiding acidic or oily foods.
4. Introducing the Worms (10 minutes):
- Provide each student or group with a small number of worms.
- Instruct students to gently place the worms on top of the bedding layer and cover them with a thin layer of soil.
Observations and Maintenance (15 minutes):
- Discuss with students the importance of monitoring and maintaining their DIY worm farm.
- Encourage students to observe the worms regularly and document any changes they observe in the soil and the worms’ behavior.
6. Extension Activities:
- Use additional resources such as All About Wormeries and Worms Resource Pack, Worms Fact Files (Differentiated), and Worms and Wormery Care Display Posters to supplement learning about worms and composting.
- Discuss how the compost produced by the worm farm can be used in gardening projects.
7. Conclusion (10 minutes):
- Wrap up the lesson by reviewing the key concepts learned about worm farms and composting.
- Encourage students to continue monitoring their DIY worm farms and to share their observations with the class
Assessment: #
- Evaluate students based on their participation in creating the DIY worm farm, their understanding of the importance of worms in composting, and their ability to follow the step-by-step instructions provided.


